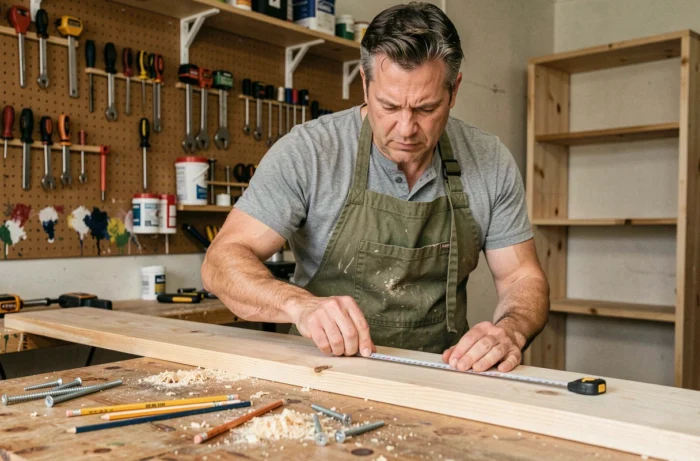
A dripping faucet, a slanted shelf, a wall to refresh before winter: we often postpone these small projects due to a lack of method, not a lack of will. The success of DIY work at home relies less on talent than on preparing the workspace and choosing the right actions. Here are the concrete points that make the difference between a controlled project and a day of struggles.
DIY Accidents: Preventive Actions That Tutorials Forget
Safety statistics are rarely discussed in DIY tips guides. Data from Santé publique France ranks DIY (garage, garden, workshop) as the leading cause of serious injuries among adults aged 30 to 60. Unintentional injuries from everyday life, which include DIY, account for about 21,000 deaths per year in France, with no clear downward trend.
The three most common scenarios are: falling from a poorly positioned step stool or ladder, cutting oneself with a power tool, and particles flying into the eyes. Each of these accidents generally occurs in the first few minutes of the project, when one improvises a height access or starts a saw without protective glasses.
Before touching a single tool, it’s beneficial to apply a short routine:
- Check the stability of the workspace or step stool on the actual floor (wet tiles, loose soil, waxed parquet), not on an ideal surface.
- Always wear protective glasses and gloves suitable for the material, even for a five-minute cut.
- Inspect the condition of the cable and trigger of each power tool before turning it on, especially if it has spent several months in a damp garage.
You can find DIY tips on Bricotronique that detail these checks by type of project, helping to ensure nothing is forgotten when tackling multiple tasks in a day.
Preparing Your DIY Project: Diagnosis Before Tools
Most failed projects are not due to a bad paint job. They derail because the diagnostic step was skipped. Before buying any supplies, inspect the work area.
Identify the Support and Its Constraints
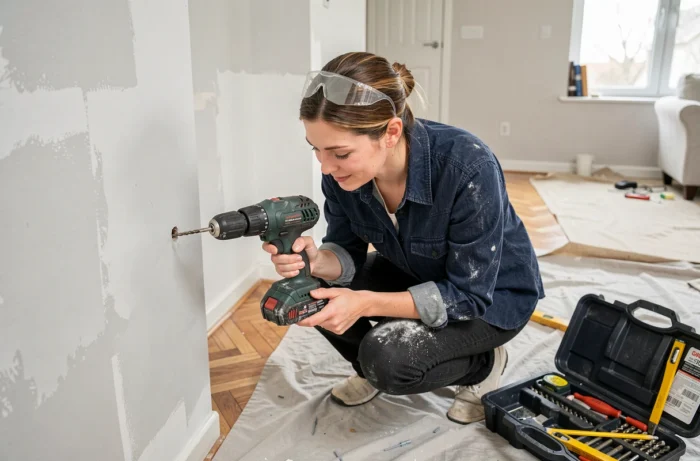
A drywall wall is not treated the same as a stone wall. A laminate floor does not tolerate the same fastening as a concrete slab. Gently tapping the surface with the back of a screwdriver allows you to distinguish a hollow wall from a solid wall in seconds. This simple test prevents drilling in the wrong place and having to fill an unnecessary hole.
For painting, running your hand over the wall detects powdery areas or old paint that is flaking. If the surface crumbles, a bonding primer will be necessary. Skipping this step means the new paint will blister within three months.
List Materials Before Heading to the Store
Note the exact dimensions (width, height, depth), the nature of the support, and the desired finish. A tape measure and a pencil are sufficient. Measure twice to cut only once remains the most cost-effective rule in DIY. Going to the store without precise measurements almost always leads to an extra trip or an unsuitable purchase.
DIY Techniques for Clean Finishes
Finishes separate amateur projects from polished results. A few precise actions can radically change the outcome without investing in expensive equipment.
Painting: Load the Roller Correctly
An overloaded roller leaves drips. A roller that is too dry creates touch-up marks. Dip the roller one-third of its height, then wring it out on the tray grid by rolling it two or three times. The application gesture is done in a “W” pattern on the surface, then smooth with regular vertical passes without pressing. Never go back over an area that is starting to dry: this is the primary cause of visible marks.
Drilling and Anchors: Adapt the Mechanism to the Wall
In drywall, use expansion anchors (like Molly) and avoid the hammer drill mode, which can break the board. In concrete or solid brick, the hammer drill mode is necessary, with a concrete bit of the correct diameter. Feedback on universal anchors varies: they are handy, but their hold is still inferior to an anchor specific to the support.
DIY Tools: Invest Smart Rather Than Expensive
Building a complete toolbox does not require an extravagant budget. Start with the tools that are used in most home projects, then add to it over time.
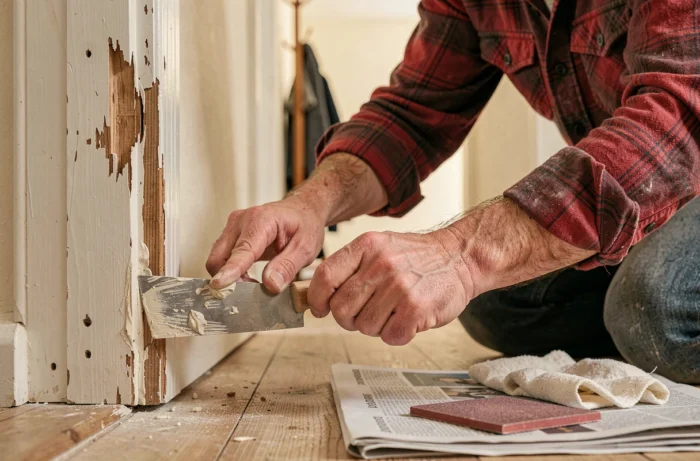
Five tools cover the vast majority of common tasks at home: a cordless drill-driver, a set of screwdrivers (flat and Phillips), a five-meter tape measure, a 60 cm spirit level, and a retractable blade cutter. Choosing a drill-driver with variable speed allows for managing both delicate screwing in soft wood and drilling in hard materials.
For second-hand power tools, check for the CE marking and the condition of the cable or battery before any second-hand purchase to protect against non-compliant devices. The RappelConso site also allows you to check if a specific model has been subject to a product recall.
A well-prepared project, tools suited to the support, and a few mastered finishing actions are enough to turn most domestic DIY tasks into concrete successes. The rest is acquired project by project, as long as you maintain the habit of diagnosing before drilling.