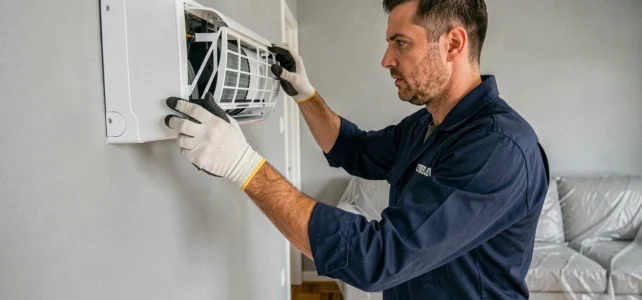
A split air conditioning system transfers heat from an indoor space to the outside through a closed refrigeration circuit connecting two units. Installing this type of system in a house requires coordinating several trades: electrical work, facade drilling, refrigeration connections, and condensate drainage. Each step affects the next, and a sequencing error can compromise the circuit’s tightness or the electrical compliance of the installation.
Dedicated electrical circuit: the prerequisite that the project imposes first
Most guides detail the installation of the units but relegate the electrical aspect to a footnote. This is a methodological error. The electrical connection must be considered from the design stage of the project, even before fixing the first wall bracket.
A split air conditioner requires a dedicated electrical circuit with an appropriate differential circuit breaker connected to the main panel. Connecting the unit to an existing circuit (standard outlets) exposes it to unwanted tripping and, in the worst case, to a compliance failure during inspections.
Check the manufacturer’s manual: it specifies the required cable size and the circuit breaker rating. If your panel is full, an electrician’s intervention to add a dedicated circuit must precede any other operations. Knowing how to install your home air conditioning starts with this compliance of the panel, not with drilling the wall.
Prior declaration of work and neighborhood rules
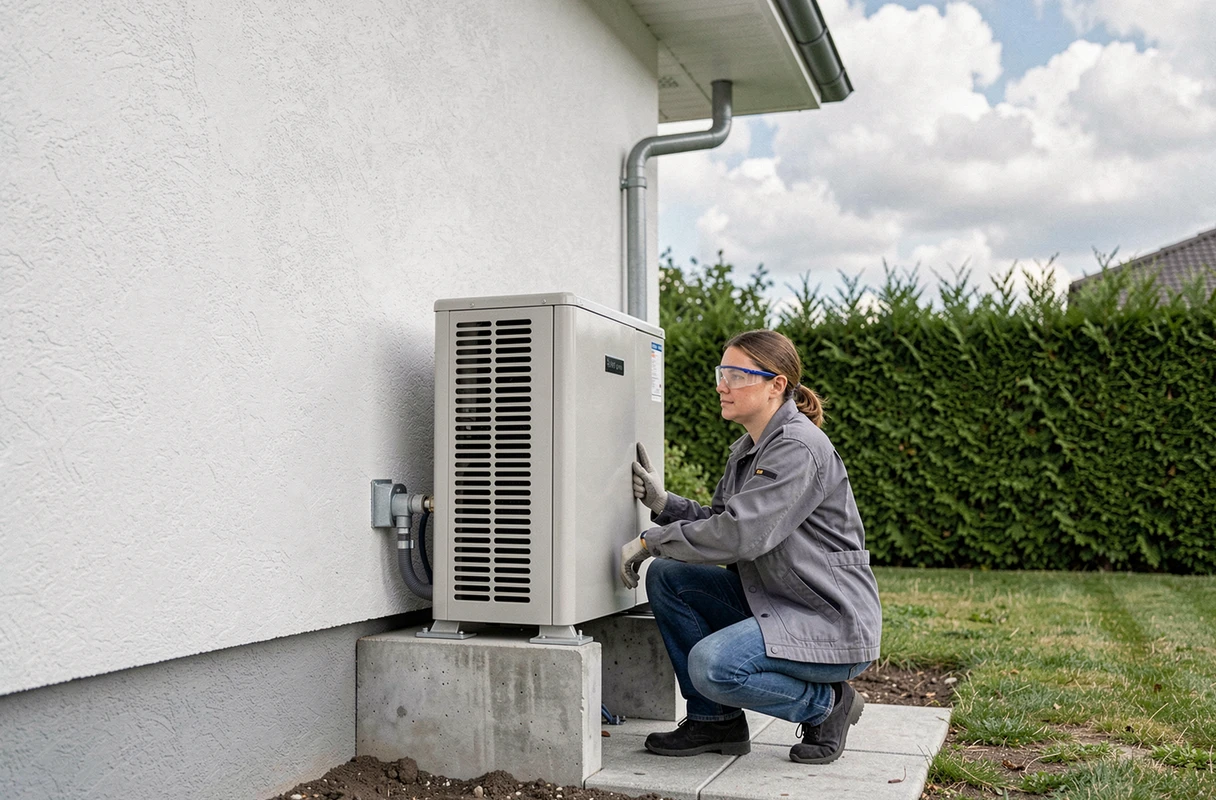
Fixing an outdoor unit on a facade or roof changes the building’s exterior appearance. In this case, a prior declaration of work to the town hall may be required. This administrative obligation is often discovered too late, once the unit is already installed.
In a co-ownership, the agreement of the property manager is generally required. In a single-family home, local urban planning rules (PLU) may impose constraints on color, positioning, or visual integration.
Noise is another regulatory parameter to anticipate. The outdoor unit generates vibrations and a continuous airflow. Placing the unit too close to a neighboring bedroom or property line can lead to disputes. Plan a location that combines sufficient ventilation, distance from neighbors, and accessibility for maintenance.
Installation of the indoor unit: height, load-bearing wall, and condensates
The indoor unit is mounted at a height, generally between two meters and two and a half meters from the floor. This position promotes a uniform distribution of cool air without direct airflow on the occupants.
The choice of wall is as important as the height. Three criteria to respect:
- Avoid a wall exposed to direct sunlight or located above a heat source (radiator, oven), as the integrated temperature sensor would distort the regulation
- Prefer a wall that allows a short run to the outdoor unit, to limit the length of the refrigeration lines and reduce pressure losses
- Ensure a slight slope on the condensate drainage pipe, towards the outside or a collection point, to prevent any backflow of water
The drainage of condensates is the number one cause of water damage related to poorly installed air conditioners. A poorly connected pipe or one without sufficient slope causes leaks on the interior wall within weeks.
Fixing the wall bracket
The bracket (metal support) is fixed with anchors suitable for the wall material. On drywall, expansion anchors will not be sufficient: use through-fixings or a wooden reinforcement behind the partition. The weight of a wall-mounted split often exceeds ten kilograms, not counting the vibrations during operation.
Refrigeration connection and commissioning of the air conditioner
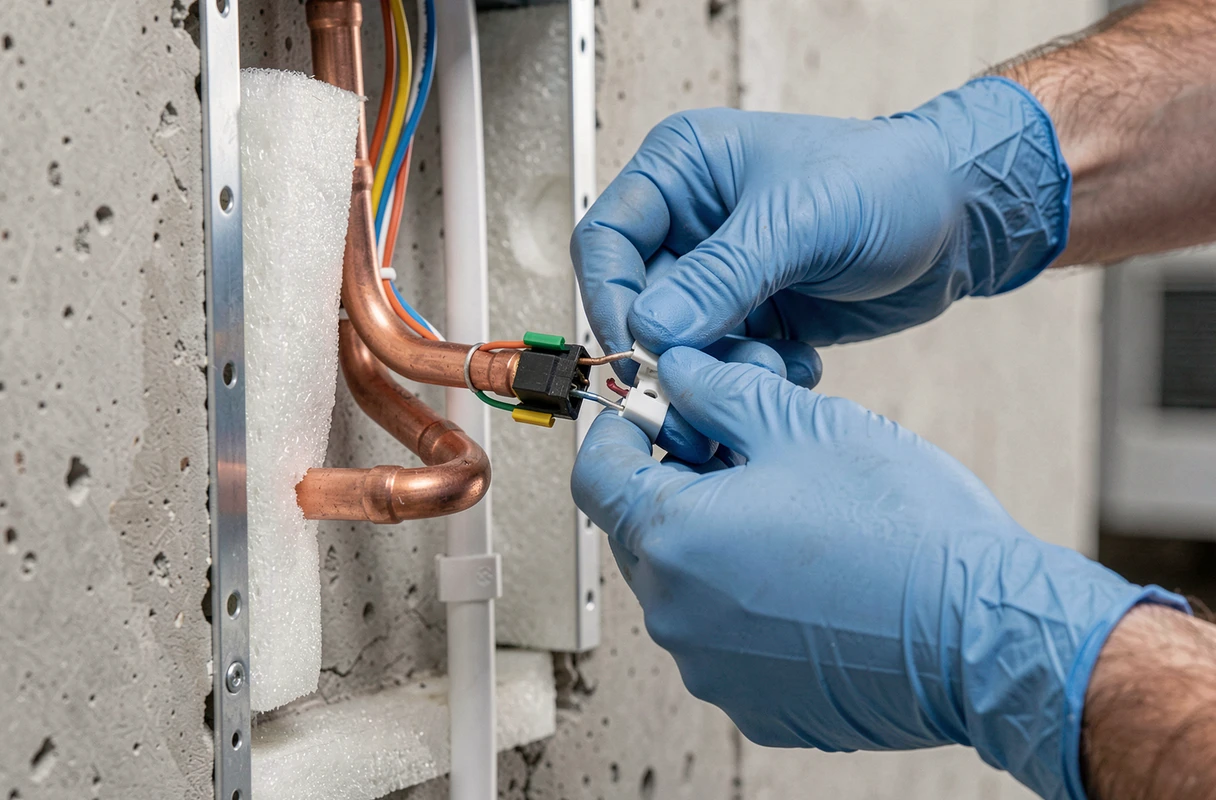
The two units communicate via copper tubes (refrigeration connection) and a control cable. The drilling of the exterior wall must be slightly sloped downwards, on the outside, to prevent rainwater infiltration.
The copper tubes must be cut with a tube cutter, never with a saw, which produces shavings that can contaminate the circuit. After cutting, careful deburring of each end is essential before flaring (expanding the tube for a flare connection).
Once the connection is complete, the circuit must be vacuumed using a vacuum pump to remove residual air and moisture. This operation directly affects the compressor’s lifespan. A poorly purged circuit eventually leads to abnormal pressure buildup and premature wear of components.
What commissioning really involves
Turning on the device does not constitute commissioning. Several checks are necessary before considering the installation operational:
- Pressure leak test of the refrigeration circuit for a duration defined by the manufacturer
- Control of the condensate drainage flow during actual operation
- Verification of blowing and return temperatures to confirm that the delta matches the specifications
- Testing the remote control and modes (cooling, heating if reversible, ventilation, dehumidification)
Only a certified professional can handle refrigerant fluid. French regulations require a certificate of competence for any intervention on a circuit containing fluorinated gases. Performing the mechanical connection yourself is technically possible, but the refrigerant charge and final commissioning fall under a qualified refrigeration technician.
Dimensioning errors: when the chosen power makes the installation ineffective
An oversized air conditioner performs short cycles: it quickly reaches the set temperature, stops, then restarts a few minutes later. This phenomenon, called short cycling, increases electricity consumption and accelerates compressor wear.
An undersized unit, on the other hand, runs continuously without ever reaching the desired temperature. The thermal balance of the dwelling determines the necessary power, taking into account the area, insulation, window orientation, and number of occupants.
This calculation is not limited to an empirical rule like “X watts per square meter.” A room of the same area in the attic with a south-facing skylight and a room on the ground floor facing north do not have the same needs at all. Having a thermal balance performed by an installer before purchase avoids installing an unsuitable system that no adjustment can compensate for.
Dimensioning also conditions the choice between single-split and multi-split. Air conditioning three rooms with three single-splits costs more in outdoor units and space than a properly sized multi-split, but an undersized multi-split will penalize all rooms simultaneously. This compromise deserves precise calculation, not a rough estimate.