Compacting sand involves reducing the volume of air trapped between the grains to achieve a dense, stable layer capable of supporting loads without deforming. This operation determines the longevity of any installation of pavers, slabs, or outdoor foundations. Poorly compacted sand settles unevenly with the first rains or traffic, leading to visible subsidence within a few months.
Appropriate water content of sand: the factor that DIYers overlook
All sand has an appropriate water content at which compaction reaches its maximum dry density. This principle, formalized by the Proctor test (standard NF P 94-093 in France), applies to both large construction sites and the preparation of a sand bed for a patio.
Sand that is too dry offers too much friction between the grains: the compaction energy dissipates without reorganizing the structure. Conversely, sand that is too wet traps water in the voids and prevents the grains from coming together. In both cases, the density achieved remains significantly lower than what the same material would allow with the correct moisture content.
In practice, for common outdoor work, the sand should be damp to the touch without water flowing when pressed in the hand. Knowing how to properly compact sand starts with this moisture adjustment, well before choosing the tool.
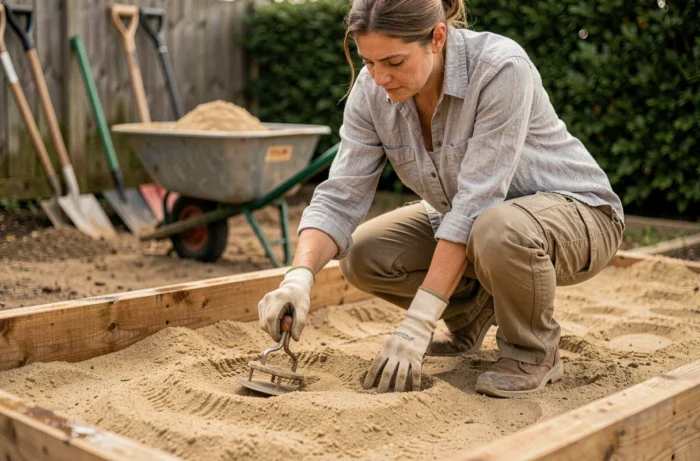
Lightly watering between each layer and then allowing the water to penetrate for a few minutes before compacting produces a result that is much denser than passing a vibrating plate over dry sand.
Layer compaction: thickness and number of passes
Compacting a layer that is too thick all at once is the most common mistake on outdoor sites. The compaction energy only penetrates a few centimeters, regardless of the power of the tool used. The lower part remains loose while the surface appears firm, giving a false impression of stability.
Layer thickness according to the tool
A manual tamper (pilon) only effectively compacts a thin layer. A vibrating plate can handle a slightly thicker layer, and a vibrating roller even more. The principle remains the same: multiple thin layers compacted successively are better than a single thick layer.
- Manual tamper: suitable for small areas and confined spaces (curbs, narrow trenches), it requires working in thin layers with regular and overlapping strikes.
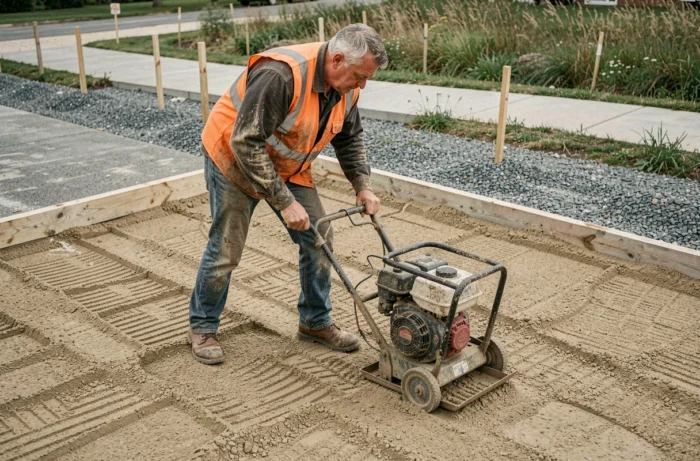
- Vibrating plate: the most versatile tool for patios, driveways, and yards. Each layer must be moistened before passing, and the plate should cover the surface in parallel bands with a slight overlap.
- Compactor roller: reserved for large areas (driveable yards, roads). Its weight allows for thicker layers to be treated, but the number of passes remains crucial to achieve the target density.
For each layer, a minimum of three to four crossed passes (changing the direction of passage) ensures a uniform density across the entire surface.
Choice of sand and grain size for stable compaction
Not all sands compact in the same way. A crushed sand 0-4 or 0-6 contains angular grains of varying sizes that naturally interlock with each other. This spread grain size (a mix of fine and coarser grains) promotes dense compaction because the small grains fill the voids left by the larger ones.
A river rolled sand, with round and uniformly sized grains, compacts much less effectively. The grains slide over each other instead of locking together, leading to delayed settling under load.
Stabilized sand: when the binder changes the game
Stabilized sand (a mix of sand, fine gravel, and a low dosage of cement) offers superior load-bearing capacity compared to sand alone. It is often used as a bedding layer under patio slabs or courtyard pavers. The compaction of this material must occur quickly after mixing, before the binder begins to set.
Stabilized sand compacted too late loses a significant part of its final strength. Adhering to the time frame between mixing and compaction is as crucial as the choice of tool.
Compaction defects under slabs and pavers: common pathologies
Localized subsidence under a slab terrace or a paved driveway almost always results from insufficient compaction of the sand bed or the foundation layer below. Pathology sheet A.05 from the Quality Construction Agency documents the direct link between the failure to strip and compact the underlying form and the disorders observed on outdoor pavements.
Two scenarios frequently arise:
- The subgrade (natural soil under the fill) was not compacted before the sand was placed. Even a perfectly compacted bedding layer sinks if the soil beneath is loose.
- Drainage was not planned. Water stagnates under the slabs, softens the sand, and creates pockets of low density that settle under weight.
- The thickness of the sand bed varies from one point to another, creating more compressible areas where the slabs tilt over time.
Checking the flatness and compactness of the subgrade before laying the sand bed avoids the vast majority of these pathologies. Compaction occurs as much beneath the sand as in the sand itself.
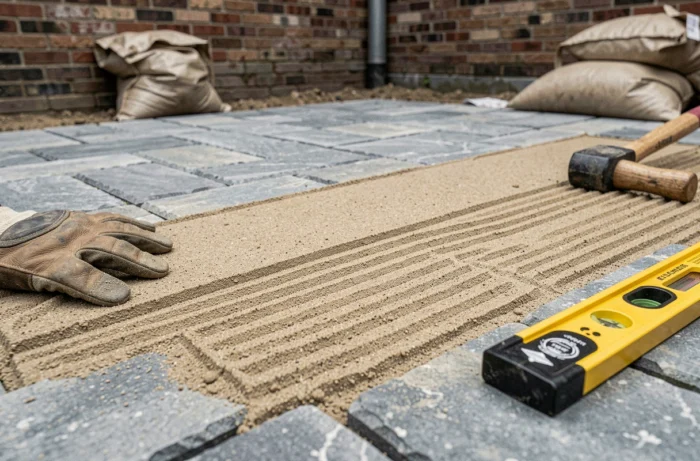
For a terrace or a driveable yard, the complete sequence therefore includes stripping the topsoil, compacting the subgrade, placing and compacting the foundation aggregate in layers, and then adjusting and compacting the bedding layer of sand. Skipping any of these steps jeopardizes the whole process, regardless of the care taken with the subsequent ones.